Tuesday, December 11, 2012

My Alpine project

Been awhile since my last post, I went into surgery last summer to replace my hip, all is well now and I'm back to work and started on my project again. Dimantled the alpine and sand blasted the frame, found that the gas tank has some cracks and tried to repair it myself, but it was too rusted out.


As you can see there was alot of rust in the tank and pin holes everywhere, so I decided to fabricate a new gas tank


The job took a while since I was in recovery for my operation, went away a bit from the original tank, added a inspection cover in order to be able to clean the tank in the future.


Really happy with the result, I coated the tank with a 2 pack epoxy that was recommended for 2 stroke gas. Then I basted and painted all the suspension parts.


Replaced all bearings and rubber boggy wheels, blasted and painted chain case and brake system, and purchased a new seat and back rest from "Goose" met goose through the vintage forum I'm in, he now supplies lots of parts for the vintage hobby, if you need any thing you can reach him here http://www.reproductionvintageparts.com/  he's a great guy and very helpful


I have been hording and searching parts for this alpine for the last 5 years, and have almost everything I need to finish, Christmas is coming soon so I'll take a break till after the holidays.

Started painting the frame now so it's full speed ahead in the new year.


Some new additions I want to share with you

I imported a 1968 ski boose from Canada and it will be my next project after the alpine


I also found a NOS 247 on the internet here in Norway, that will go in my Elan when I'm finished with the Boose, along with a tack and speedo


And last but not least, I strayed away from the vintage scene and pruchased a 2012 Ski Doo Skandic 600 Ace for using up in the mountains, need something that could pull since we will start to expand our cabin from 50 sq meters to 100 sq meters.


Sunday, August 1, 2010

New Project

Have not posted for a while, the Elan ran good last year until I adjusted the air screw on the mikuni carb, leaned it out to much and and over heated it, lost the top ring, no problem, piston is okay and I got a new ring coming from Bones in Canada so should be on the snow on time this year. Now the time I should spring my next project on you guys, I got a 1967 Alpine that I will restore here is a shot.

Sunday, February 1, 2009

More work done

Sorry have not posted for a while I've seen some comments, people wanting parts, recoils and gas tanks, I've seen both on ebay in the last week. Finished the Elan and it's up at the mountains now, got some work next year just to keep me busy, front drive axel and secondary clutch needs attention,

I like to ice fish and the Elan is not really stock with the 292, my hip did not like the low seat so I added a trapper box, now I got a place for some tools and ice auger, it's more comfy to ride but more tippy.
Some more shots of the Elan finish hood new decal and seat cover, I'm happy and think it looks good for 33 years old.

Wednesday, February 13, 2008

Not finished but ready for the snow


Put the Elan together, repaired and painted the hood, used a product called Polyfix, this stuff is great bonds well and sands great, here is the link if you are interested http://www.eos.net/redam/polyfix.htm. Mechanically the sled is 100% but cosmetic it's about 50%, didn't put the decals or the good windsheild from Cannon, from a distance it look s okay, but up close not so good, had it up in the mountains ran real good, 292 really screams, not quite used to riding yet, seems to want to go straight all the time, Here are some shots

Monday, February 4, 2008

To the finish line

I have'nt been updating my blog, but that does'nt mean I've not been working, I'm alittle behind, there is 5 feet of snow up in the mountains and the sled is still in the garage, after I set the timing, I mounted the motor in the sled and hooked up the batery, It started so fast in scared me.


Still see the blue smoke in the air, smells like victory.


I've now been doing the wiring, the Elan was manual start when I bought it, but lucked out because in 1976 the was the last year they offerd the Elan with electric start, so it had the ring gear in. All I had to do was get a starter motor and a wiring harness for thr "E" type 250. Member BP6 had what I needed, Again this was a job I never done before, but with the wiring diagram with the colour code of the wires, it was'nt so hard. I amazed myself turned the key all the lights worked and the motor turn ed over, have to make a mount for the brake light switch, not enough room around the clutch.
I'll finish it next weekend and test drive it up in the mountains and post some pictures, I'm taking shortcuts on the cosmetics, won't change the seat cover and won't apply the decals, it will be something to do this summer, nows the time to ride!!!!

Sunday, December 30, 2007

Set the timming

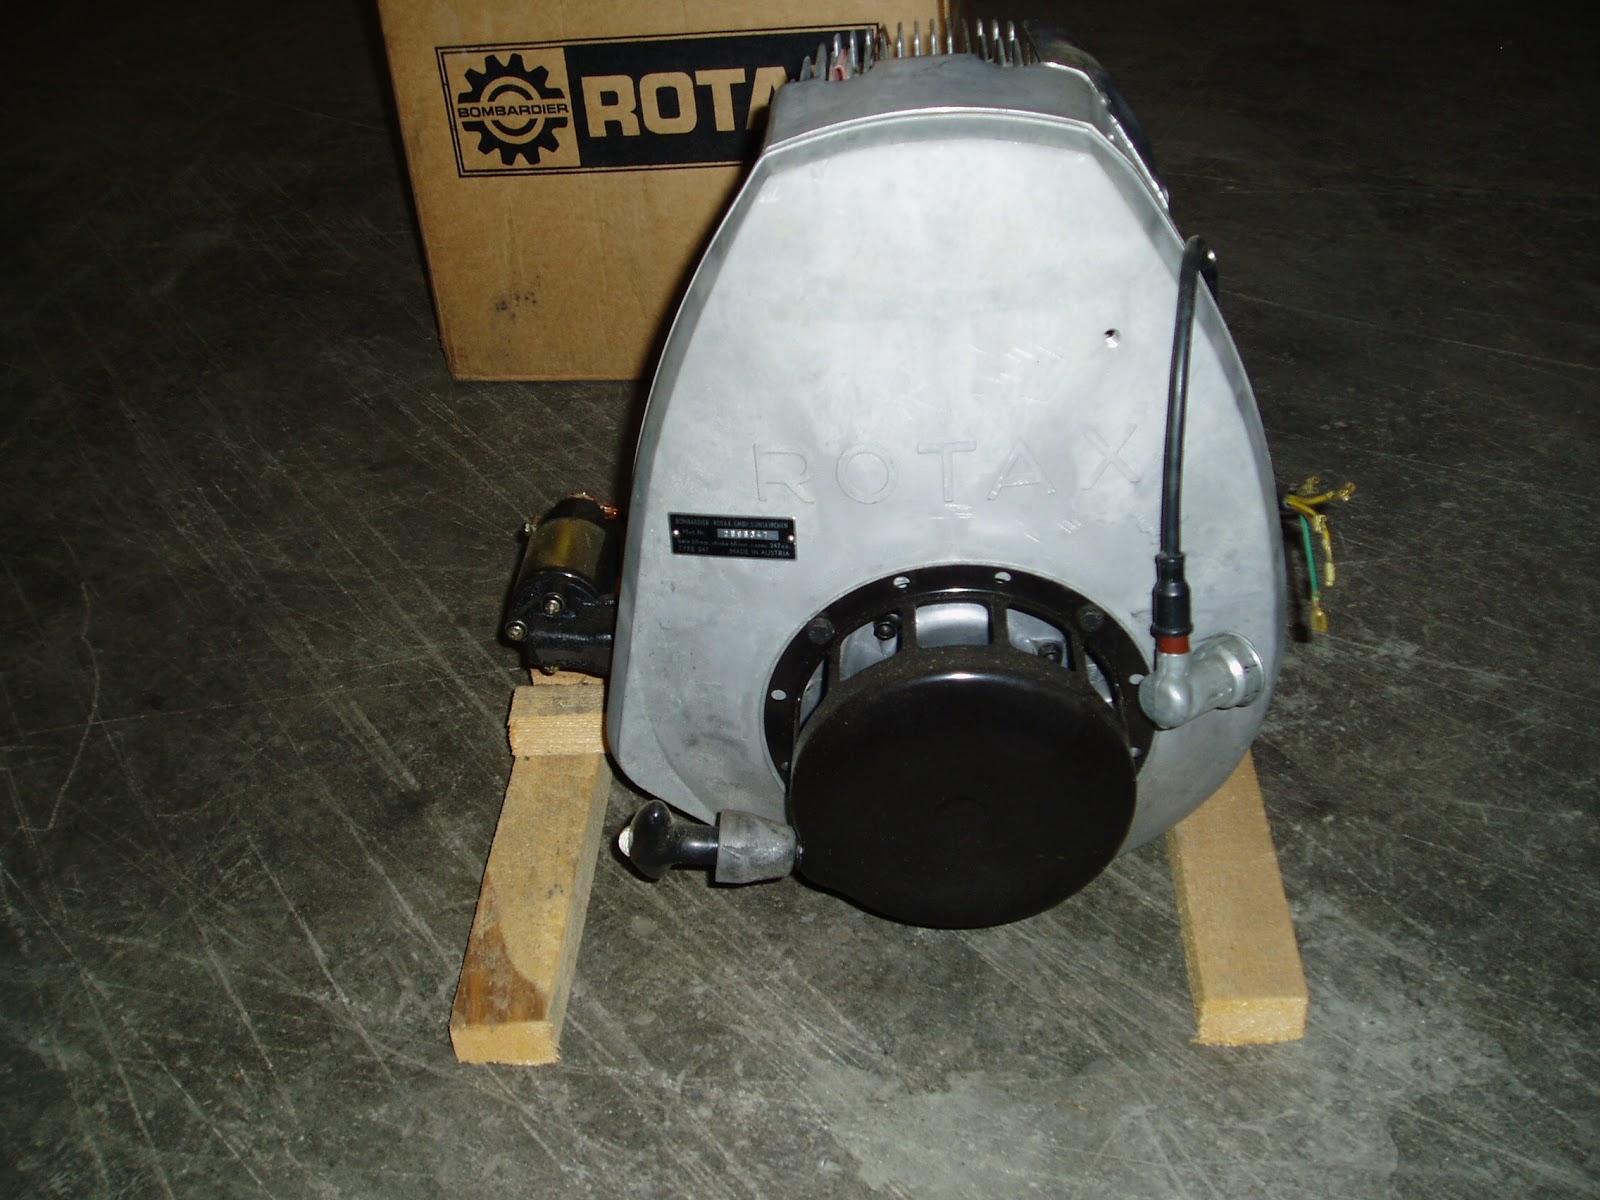
I haven't posted for a while, the Christmas season and just plain laziness is to blame. I received some kind words about my blog from members of the Old Ski Doo Forum and it's motivated me to update my progress.

Really close to finishing, good thing because there's a ton of snow and I seem to be the only one not on it.

Set the timing today, I was worried about this because I thought it would be to technical for me, I was wrong, Bones on the forum held my hand all the way through it and I realized that it's not so scary.
Here you can see the stator plate with the lighting, brake and generator coils, the funnel shape on the crank shaft is the breaker cam, this is what opens and closes the points, to set the point gap, take the fly wheel and breaker cam spring off, slip the cam back on the shaft, now spin the cam on the crank until you see the points open, continue spinning the cam by hand until you see the points close, now spin the cam to the position approx. in the middle between start open and close when the points are fully opened. this is where you set point gap.


Now to set the gap on the points, in this picture I have the feeler gauge in the point between the contacts, just to the right there is a screw, loosen this screw then tighten it when the correct gap is set, on mine and most single rotaxes it's .16 of an inch.


Now your ready to put the flywheel back on, In the above picture I've place the breaker cam where it should be located, the 2 small tabs on the cam must fit into the advance lever, this is the lever with the large screw attached to the flywheel, this lever is spring loaded and will advance the timing when spinning at high revolutions centrifugally,

Once you've installed the fly wheel back on it's time for the timing, I bought a tone tester but found it useless the best and easiest way is to take a light bulb, this case my head light, attach one wire to the wire comming from the points to the ingnition coil, mine was blue, the othe wire from the light bulb to the positive post on the battery, then ground the battery to the motor. When you do this the light will work, spin the motor, when the light is dull the points are opening when the light is bright the points are closed. To set the timming You must have the piston at Before Top Dead Center (BTDC), for my motor with the 1971 TNT 292 cylinder and piston it's between 3.55 and 4.06 mm, with the points beginning to open.

I bought this dial gauge and magnetic stand, first find the highest the piston will go up or top of the stroke, this is called Top Dead Center (TDC).

Then spin the motor with you finger pushing down on the timing advance lever through the inspection holes on the flywheel so the timing is fully advanced. Pictured above (not so clearly) is me moving the lever to advance timing with a screwdriver, if you look into the large sloted hole to the left you can see the lever to push down. While pressing against the lever spin the motor, when the light goes dim and the points begin to open check the dial gauge. If it is not within the timing spec, mine are 3.55 to 4.06 adjust the stator plate, There are 3 set screws on the plate in sloted holes if the light dims before your within your spec turn the stator plate to the right to advance the timing, if the points open after or late, turn the stator plate to the left to retard the timing. Make sure you measure the BTDC while holding down the advance timing lever. I lost a few hours scratching my head over why I coulded get the timing right until I realized I wasn't advancing the timing.
After tighten the set screws on the stator plate, you should have a correctly timed motor, I was really pround of myself until I realized I had to pull the flywhell again to get the fan shroud on, No big deal, only 1/2 hour wasted. But the motor is timed!!

Friday, September 14, 2007

Get er done

I haven't updated the blog as much as I've should, but the project is still moving forward. I ran into a few stumbling blocks but as you will see all came out right in the end. Started to get worried about finishing the project before the snow comes, been hunting down parts and trying to solve problems


As you know I'm swapping the cylinder and piston from the 247 to the 292 tnt, since the motors share the same stoke you can use all the bottom end and just change the cylinder and piston, a machinist at work match the combustion area in the 247 head to the 292 head so I can use the head with the spark plug hole in the middle of the head. Above is he motor completely disassembled all parts that can be seen externally have been glass beaded, I think it looks great!! But I very knowledgeable member "Bones on the old ski doo forum see this picture and told me that the jug is from a 69/70 TnT and won't match my crank case.
Of coarse "Bones"was right, maybe you can't see it on this picture, but there are small differences that meant the cylinder would not seal on the crank case, I was devastated to say the least.
But Old ski doo forum to the rescue once more. One member "Elanmen" had a 70/71 jug that was right for me, and he needed a 69/70 jug so we did a swap, also my good friend "Goose" who sold me the first jug but didn't know that you had to have that particular year made me a good deal on another jug and piston, Unfortunately the jug and rings got damaged during shipping, top fin on the jug broke off, but the welder welded it up good as new and I' waiting for a replacement ring now.
I have painted up the frame skies and other small parts satin black to hide the small dents, did it outside with spray cans, came out ok I think.
I will start to put the track on the frame, I have got all new rubber wheels and bearings, need to de-grease sand and paint the chain case and secondary clutch, by then I hope the pistone will be back from glass beading and I can start putting the motor together.
GOT TO GET ER DONE!!!

Saturday, June 23, 2007

More engine work

Been working on the yard and waiting on some tools to remove the fan and the shaft on the clutch side, got the machinist to make up the puller here below, worked like a charm, pop off came the fan.

Under the fan is where the lighting and brake coils and points, just 4 caps screws and the plate comes off easy, there a spring some washers and a key so pay attention when you remove them. Once the plate was removes, wrapped it in clean rags and removed back of fan shroud.
Once the back of the fan shroud was off, I could get at the head of the 247 jug, but before I could remove head and cylinder I had to remove a shaft on the clutch side, I learned if you stuff a 1/4" piece of rope down the spark plug hole it will stop the motor from spinning so you can put some pressure on the shaft.

I have heard that sometimes these can be a bear to get off, the tool I made had a big nut on one side to put a pipe wrench on and a socket at the other end to put a impact gun on if the shaft gives you a hard time, I was told by forum member Bones to keep close to the bearing because you could bend crank shaft, I was lucky, just with a little pressure it came off easy.
Then the 4 nuts on the top of the head, just tapped with a piece of wood and it came off, taped the cylinder and it lifted off, graped the studs near the bottom where they threads go in the crank case with a pair of pliers and they came out easy, don't know if that was the right method, but it worked for me. On the piston where the wrist pin goes in there are 2 spring clips that hold the wrist pin in on either side. There is a small groove in the hole where you can put a small screw driver in to pry out the clips, once there out I used a brass shaft and tapped out the wrist pin, bearing in the connecting rod that rides on wrist pin was in good shape.
Here is the crankcase ready for the 292 cylinder piston and head, First I thought to split the case and inspect the crank so I could glass bead the cases, but with some WD40 and some clean rags, it cleaned up pretty good, put a post on the forum to see what the guys says about splitting the crank case.


Tuesday, June 5, 2007

292 cylinder swap

With the last post I showed the 292 cylinder head and piston, I planned to change it from the 247 for some additional HP. I have been struggling with the problem the spark plug hole on the 292 head, because the hole is in the back and angled, it would come in contact with the handle bar support. Again a member on the forum had the answers.
Elanmen, who has lately, been very helpful, said if I just put another piece of flatbar under the front motor mount to tip the motor back a little, the spark plug will not contact the handle bar support.

Here is a better shot of what he meant by adding an additional flat bar on the front motor mount.

And here you can see the results, spark plug clears the handlebar support. This is good for me, now I can keep my 247 piston, cylinder and head. I may want to put it back to original one day, my next vintage sled will be a little stronger so I can pull the family up to the cottage, But 3 things about my next sled are certain.
  1. It will be vintage
  2. It will be a Ski Doo
  3. It will be yellow this time.
Still waiting for the tools to get the motor apart, and some parts have not arrived from Canada and the States. The back yard and garden this time of year is using my time, so not much work done on the Elan, got to get my butt into gear soon or the snow will be here and the Elan will still be scattered around my garage.